As part of an upcoming Audio-focused ScummVM update I got myself a RetroWave OPL3 Express.
The RetroWave OPL Hardware

Yamaha YMF262 (Wikimedia Commons)

RetroWave is a hardware sound board series that uses vintage sound chips and works with modern hardware. Namely, it contains the Yamaha YMF262-M and makes it available via an USB-C port. This chip is part of the Yamaha OPL line of sound chips and which were widely used in the 90s sound cards such as the AdLib or Creative Soundblaster cards.1
While there’s a various ways to emulate the sound from these cards, using the real hardware is always more accurate and honestly also just more fun to tinker with. If you like retro tech, I can only recommend getting one.
The RetroWave Software
SudoMaker is providing two software components to play sound on these chips:
-
The RetroWave Library: This handles sending the commands via serial to the connected chip. It’s what you would program against if you want to use the chip directly and it’s what apps supporting these chips (ScummVM, DOSBox-X, 86Box etc) rely on.
-
The RetroWave Player: If you want to playback music, you will need a tool to read sound files and send them to the chip. Most commonly these sound files are shared as VGM files. VGM (Video Game Music) is a sample-accurate sound logging format for many machines and sound chips. Unlike audio formats like MP3 which store a soundwave as recorded by a microphone, VGM logs the commands sent to the sound chips so the sound can be recreated by sending them again to the sound chip (physical or emulated). The normal extension is .vgm but files can also be gzip compressed into .vgz files. SudoMaker is providing a reference command-line VGM player that can be used to extract these commands and send them to a physical chip.
So to make this work in the browser as a proof of concept, I ported both to the Web.
Porting Retrowave to Emscripten
Both the library and the player are written in portable C code, so porting them to Emscripten wasn’t too hard. To access the board, I can use the Web Serial API - a somewhat obscure interface that’s unfortunately only supported by Chromium-based browsers.
The changes were not huge, so they were merged upstream pretty quickly:
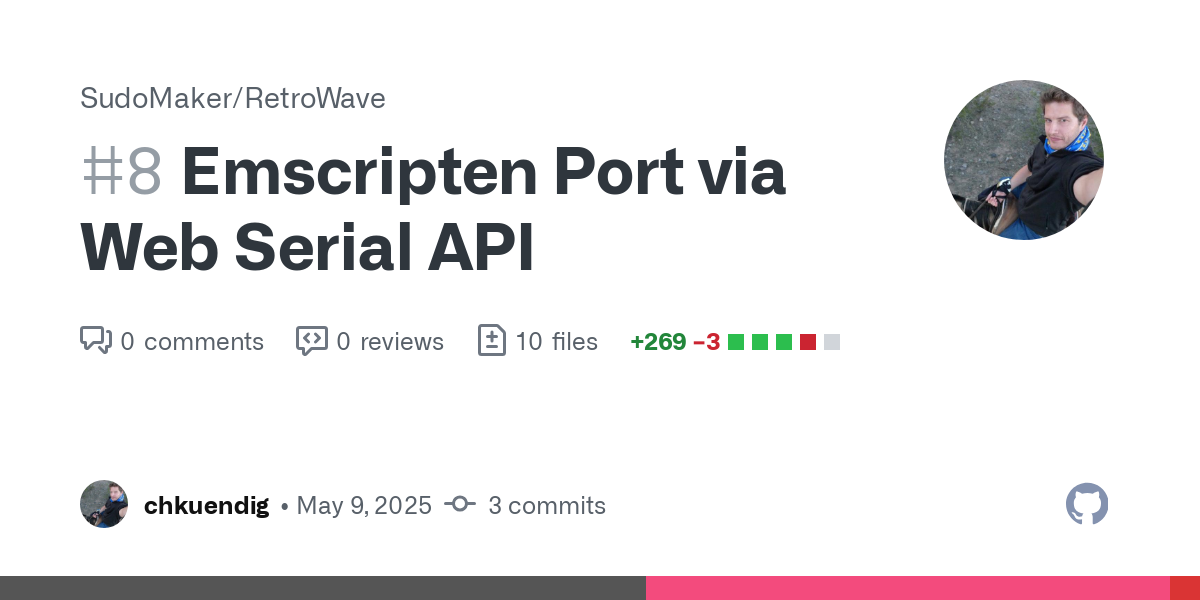
If you want to check out the WebSerial Implementation, it’s all in a single file: Web_SerialPort.c.
The Web OPL3 Player Demo
To try this out, the player is available at oplplayer.kuendig.io. It’s been tested on the RetroWave OPL3 Express (v2), but should generally work with any OPL3 chip connected via serial port. The source code for this small demo page is also on Github: . If you don’t have an OPL3 board, you can also check out the following video:
License + Credits
- My own Webassembly port of RetroWavePlayer and RetroWaveLib based on SudoMaker/RetroWave (AGPL-3.0 license)
- The Terminal Font is Perfect DOS VGA 437 Win by Zeh Fernando (Freeware)
- Terminal itself is Xterm.js with mame/xterm-pty (both MIT license)
- The demo songs are from the Sound Blaster Series Demo Disc available at vgmrips.net
-
See Wikipedia for more details: https://en.wikipedia.org/wiki/Yamaha_OPL ↩︎